OpenVas for Kali Linux on the Raspberry Pi
I’m working on creating a semi-portable security platform. I decided to experiment with installing and using the armel version of Kali Linux (the new backtrack OS) on the raspberry pi. Initially, I faced a lot of problems getting OpenVAS to work on the device. This is one of the very few if only open source armel vulnerability scanners I could find. The following steps cover my successful attempt to setting up OpenVAS for anyone else interested in working with this tool in Kali on a Pi. Be prepared to spend a good amount of time waiting for the plugins to install and the database to update.
- Downloaded and installed a fresh armel image of Kali (http://www.kali.org/downloads/). I used this image (Username: root, password: toor).
- Use a disk imager to image a SD card with the Kali image to run on the Pi. I used Win32 Disk Imager.
- Insert the SD card into the pi and power it up.
- You may want to expand the partition created by the disk imager, a tutorial on how to expand an active partition can be found here.
- Set the correct date if needed:
date <month><day><hour><minute><
year>.<second> - Create the openVAS certificate:
openvas-mkcert
- Create the openVAS client certificate:
openvas-mkcert-client -n om -i
- Download the openVAS NVT’s (This takes a few minutes):
openvas-nvt-sync
- Start the openVAS scanner (This takes 30+ minutes.):
openvassd
- Build the openVAS database (This can take an hour or more.):
openvasmd --rebuild
- Create an admin account:
openvasad -c 'add_user' -n openvasadmin -r Admin
- Update the openVAS database with the latest definition (This can take an hour or more.):
openvasmd --update
- Migrate the database (This can take an hour or more.):
openvasmd --migrate
- Rebuild one last time to be safe (This can take an hour or more.):
openvasmd --rebuild
- Start the openVAS manager on port 9390:
openvasmd -p 9390 -a 127.0.0.1
- Start the openVAS admin:
openvasad -a 127.0.0.1 -p 9393
- Start GSAD, this is the client tool for openVAS:
gsad --http-only -p 9392
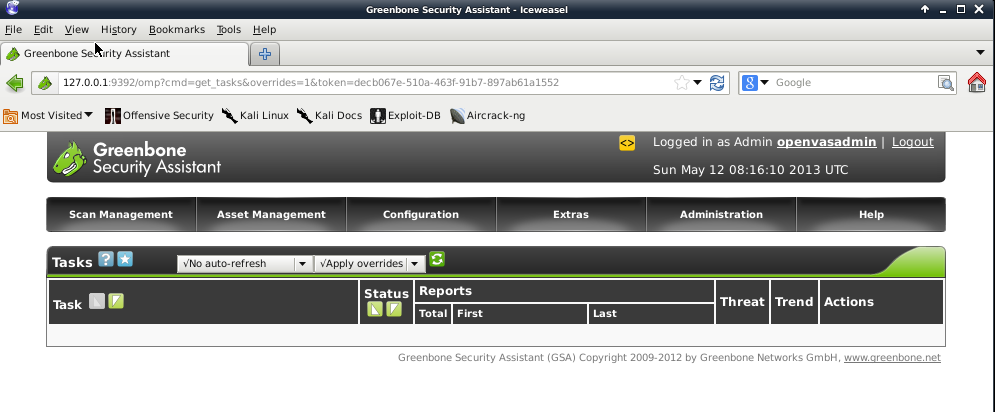
- Use the web client to interact with the tool, it can be accessed on http://<IP OF PI>:9392. You can log in with the admin account created earlier.
That’s it! Now you can use this amazing tool to scan machines in a network!
After a reboot or shutdown, openVAS can be started with the commands:
- Start the openVAS scanner (This takes a few minutes this time.): openvassd
- Start the openVAS manager on port 9390: openvasmd -p 9390 -a 127.0.0.1
- Start the openVAS admin: openvasad -a 127.0.0.1 -p 9393
- Start GSAD on port 9392, this is the client tool for openVAS: gsad –http-only -p 9392