My Ultimate Network Monitor/Enumeration Tool – Putting It All Together
Finally, all the parts come together. Look at my previous posts for all the pieces to building the LilDevil network monitor and enumeration tool.
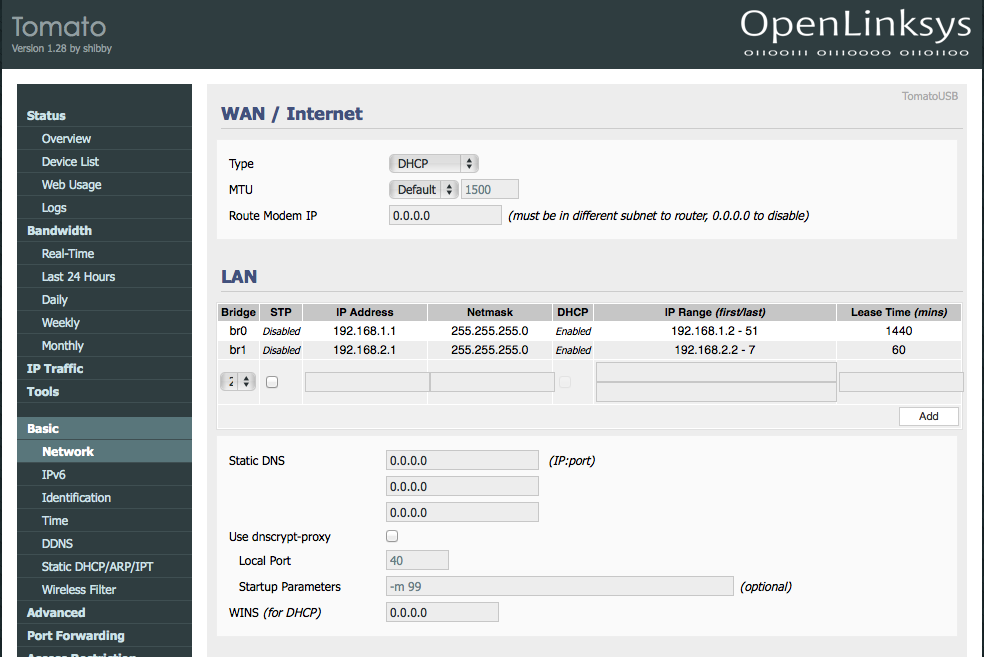
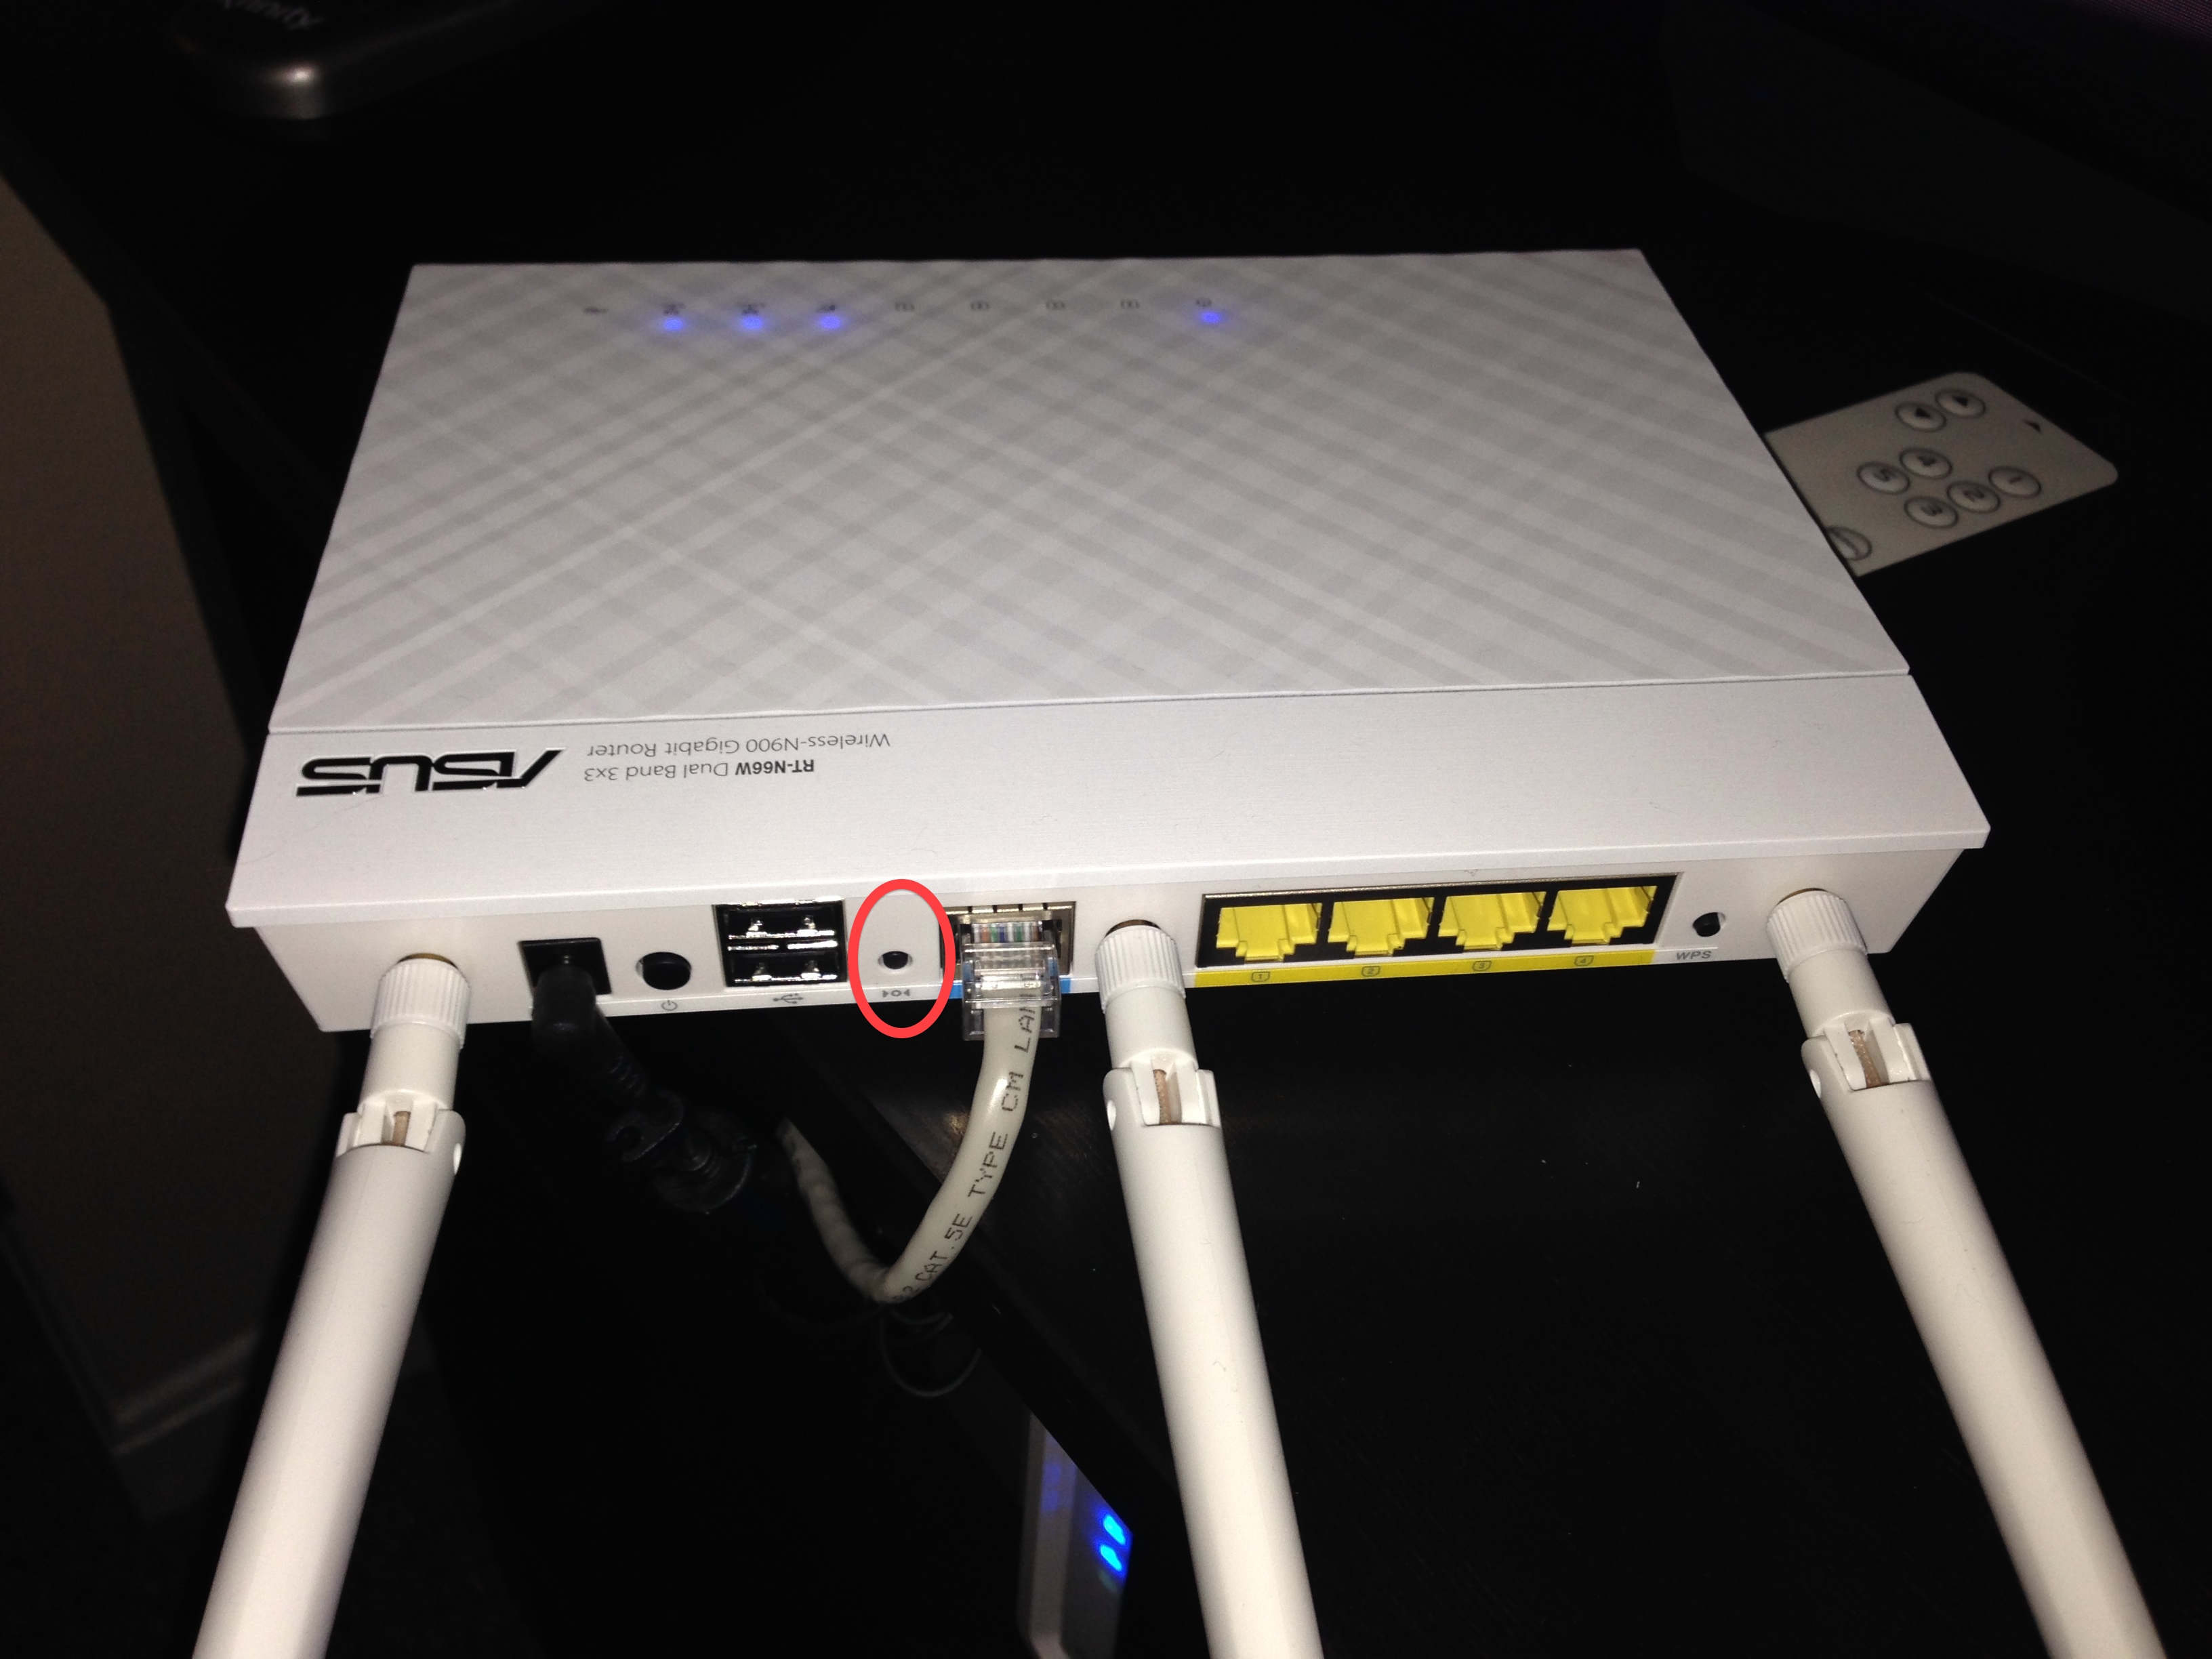
- Tomato Shibby on ASUS RT-N66W
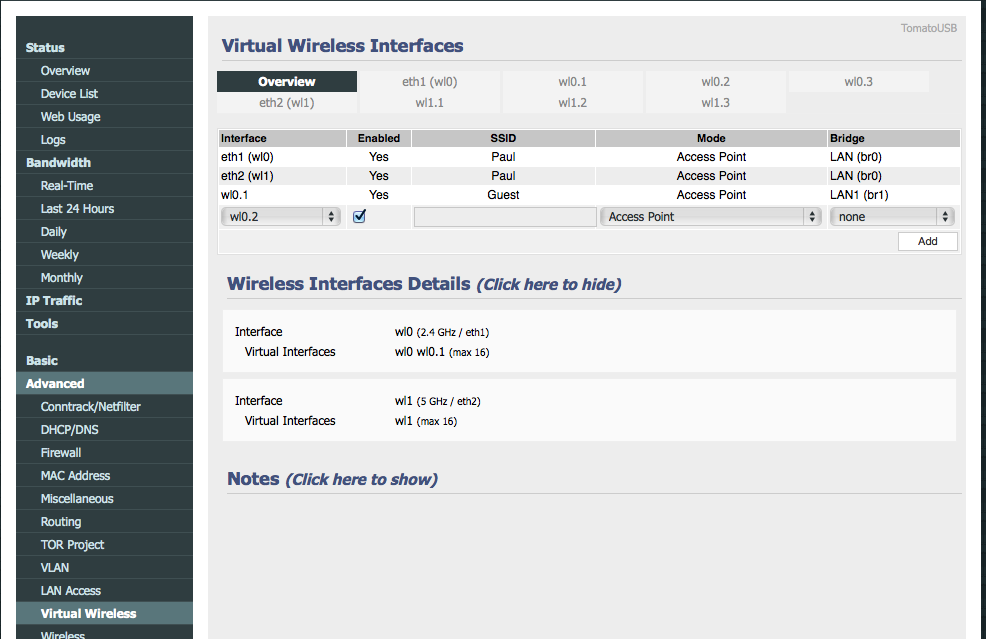
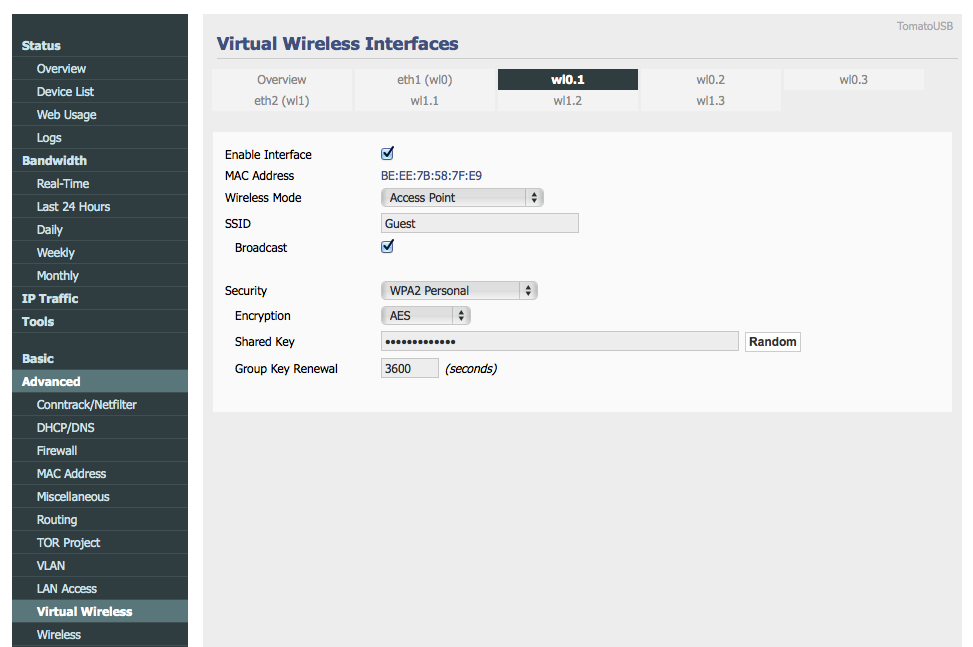
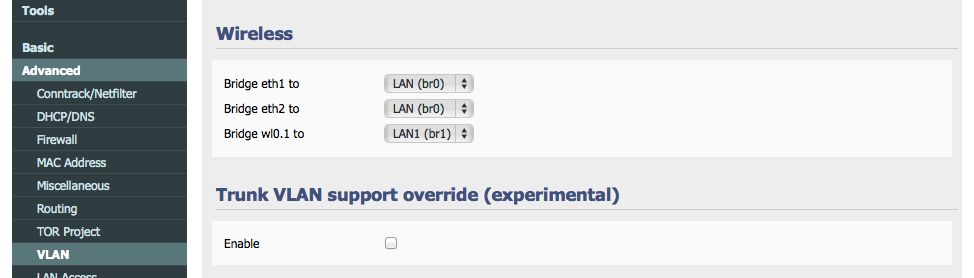
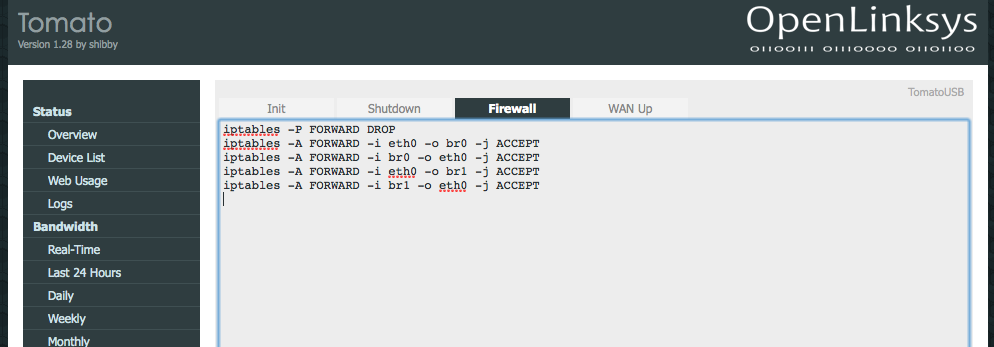
- Tomato Shibby Guest Wireless
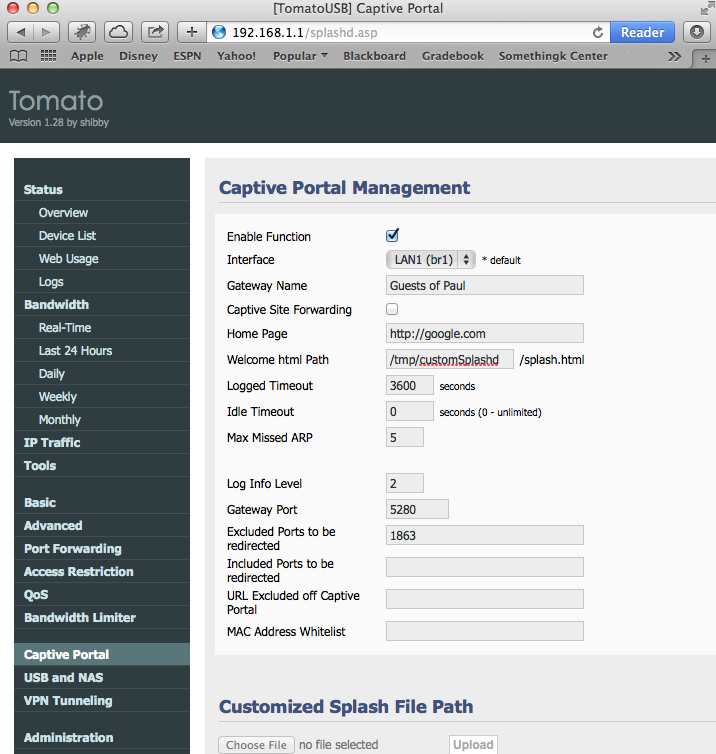
- Tomato by Shibby Splash Page
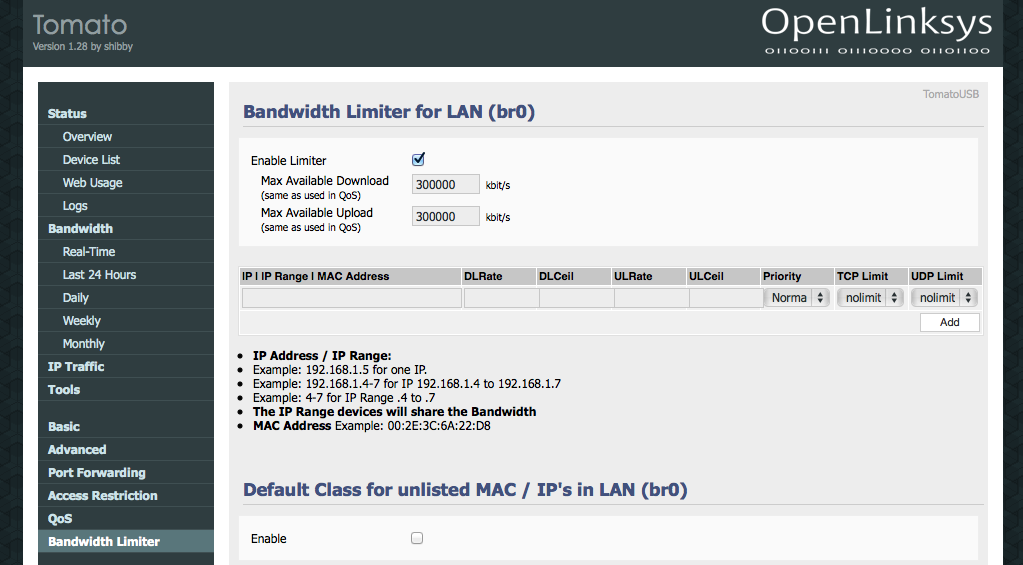
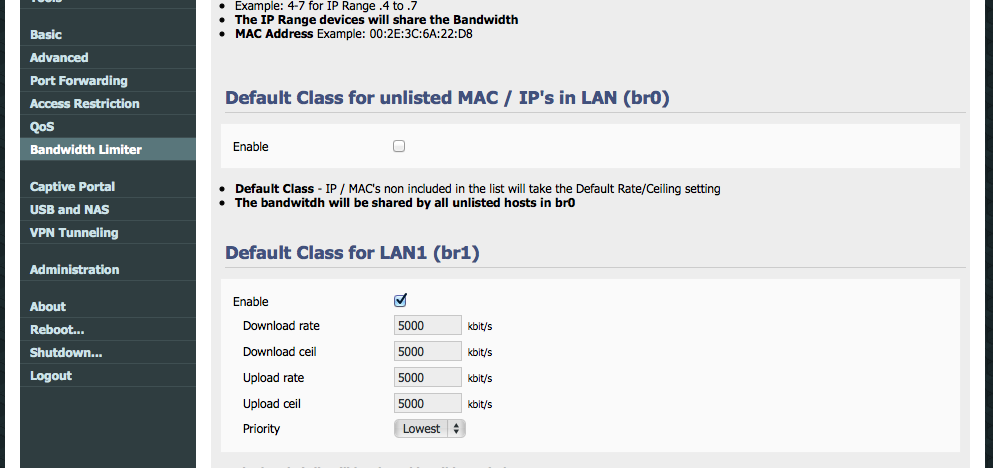
- Restricting Bandwidth on Tomato
- Pi Time!
- IMPROVEMENTS: Detecting New Network Devices with Python and Tkinter
- Playing with the Pi: Portable Server
The LilDevil
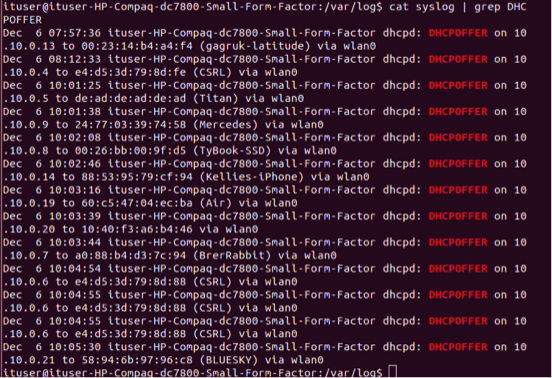
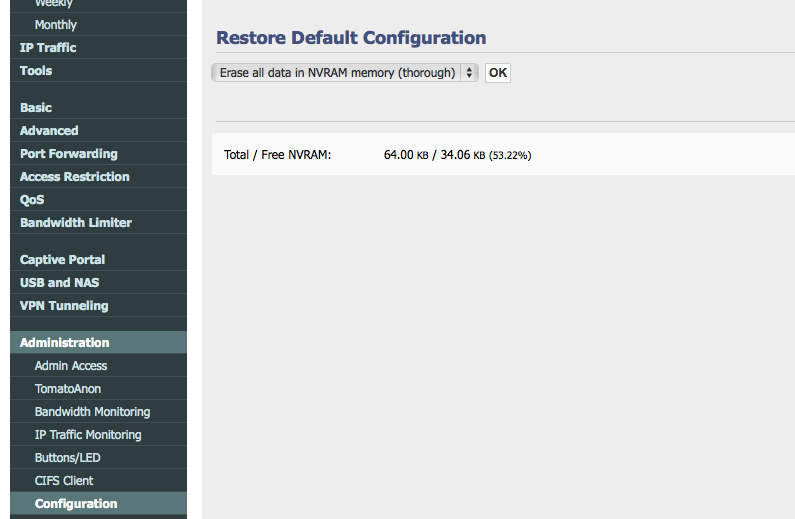
So this tool I created sits on a Raspberry Pi. Its purpose is to monitor and enumerate all devices currently connected to a network. In this case, it sits on my Guest network. Tomato Shibby is running on my router and I used its web interface to setup the network, along with limiting access. For all guests jointing this network, they are warned by the router’s splash page that tools such as this will be running. Its a free network and they really can’t expect anything different going on. In this case, its not malicious, but it is good practice to be wary of guest networks.
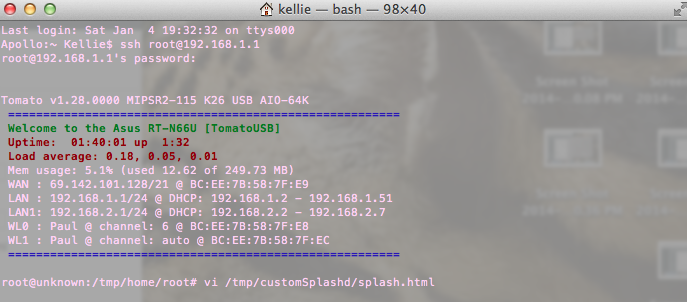
To be less suspicious, the hostname of the Raspberry Pi is RainbowDash 😉 This amuses me so much, the perfect disguise! If I saw a device named LilDevil running on a guest network I would be totally alarmed. I also themed the Pi accordingly, see the below screenshot. The coloring isn’t perfect, I blame VNC.

The Pi runs a Django Restful server that stores mmap scan information about detected machines on the network. The Python 2.7 scripts for this are here. I had to make a few versions in order for things to work on Django 1.6.
In views.py, change
encoded = json.loads(request.raw_post_data)
to
encoded = json.loads(request.body)
Also, I had to make some changes in dirtBag.py, in order to get the ping sweep to work appropriate.
Change MIN and MAX to an integer instead of a string.
MIN="0"
MAX="12"
to
MIN=0
MAX=12
Here is a copy of the new main function.
def main():
    global results
    while 1:
        new = ""
        for x in range(MIN,MAX):
            new = new + commands.getoutput("ping -c 1 -t 1 "+PREFIX+"."+str(x) + " | grep 'from'") #Ping sweep the network to find connected devices
        tmp = re.findall(PREFIX+".(d+)", str(new)) #Pull out IP addresses from the ping results
        if tmp != results:
            for ip in tmp:
                if ip not in results:
                    gotcha = commands.getoutput('nmap -v -A -Pn '+PREFIX+'.'+ip)
                    sendDevice(gotcha)
            for r in results:
                if r not in tmp:
                    removeDevice(PREFIX+'.'+r)
            results = tmp
The information is up to date on all devices currently connected. It may be nice in the future to include a log of all scans but for now, I’m really only interested in connected machines.
Data is then displayed in a visible GUI. The below screenshot shows the tool windows along with the GUI. Currently, no devices were connected to the network.
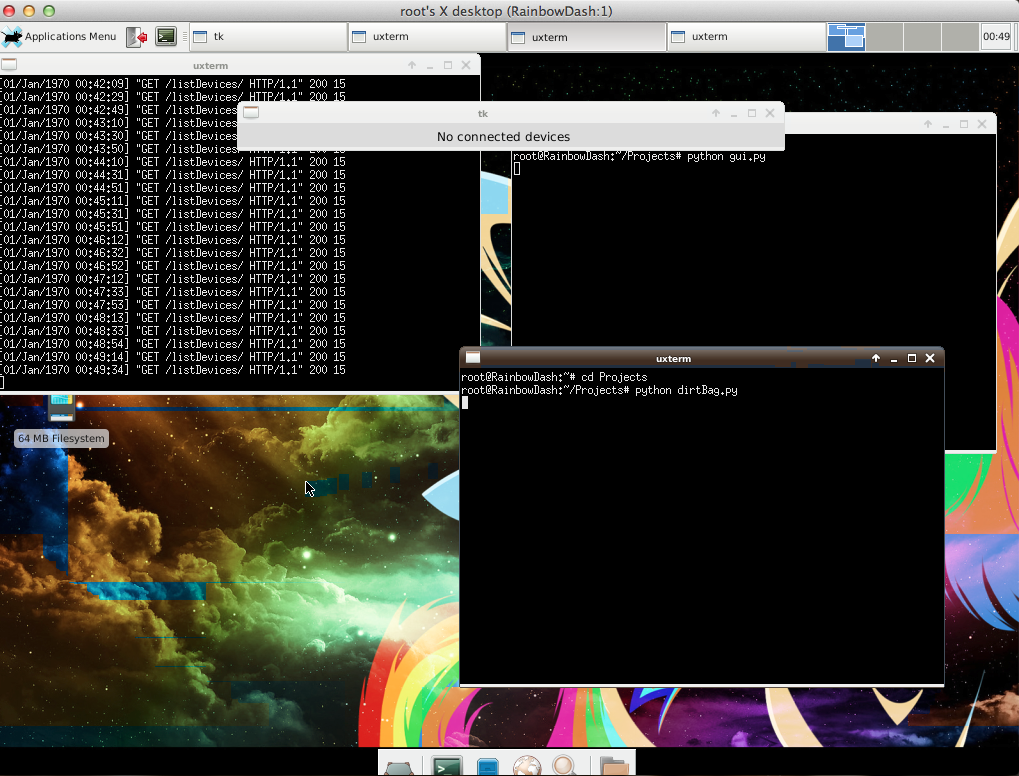
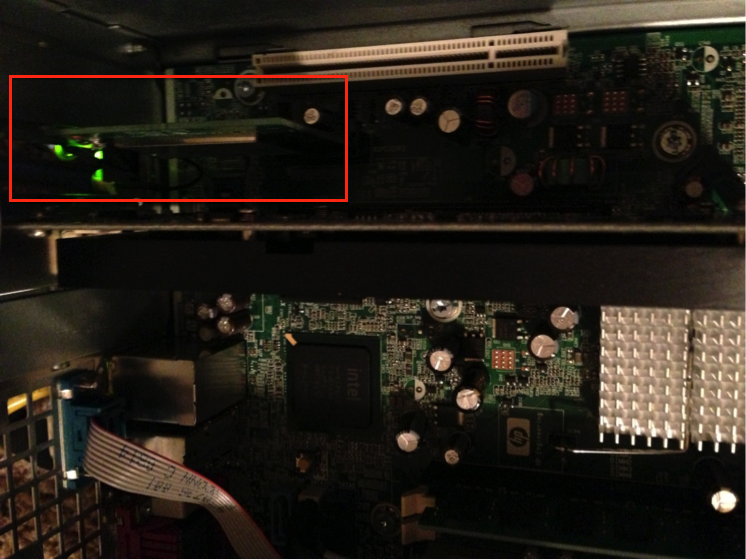
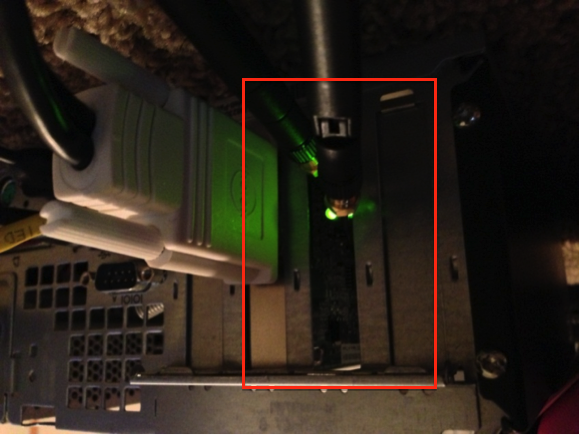
Ahhh it detected a device… in this case, itself.

There you have it! A portable network enumeration tool. There are so many versions of this everywhere, but this is just something I coded up for fun. I plan to add to the Pi later for kicks.