Pi Time!
Just bought my own Raspberry Pi (Model B), endearingly named the Lil Devil. I’ve worked with Pi’s at school but now I have my own, sweetness.
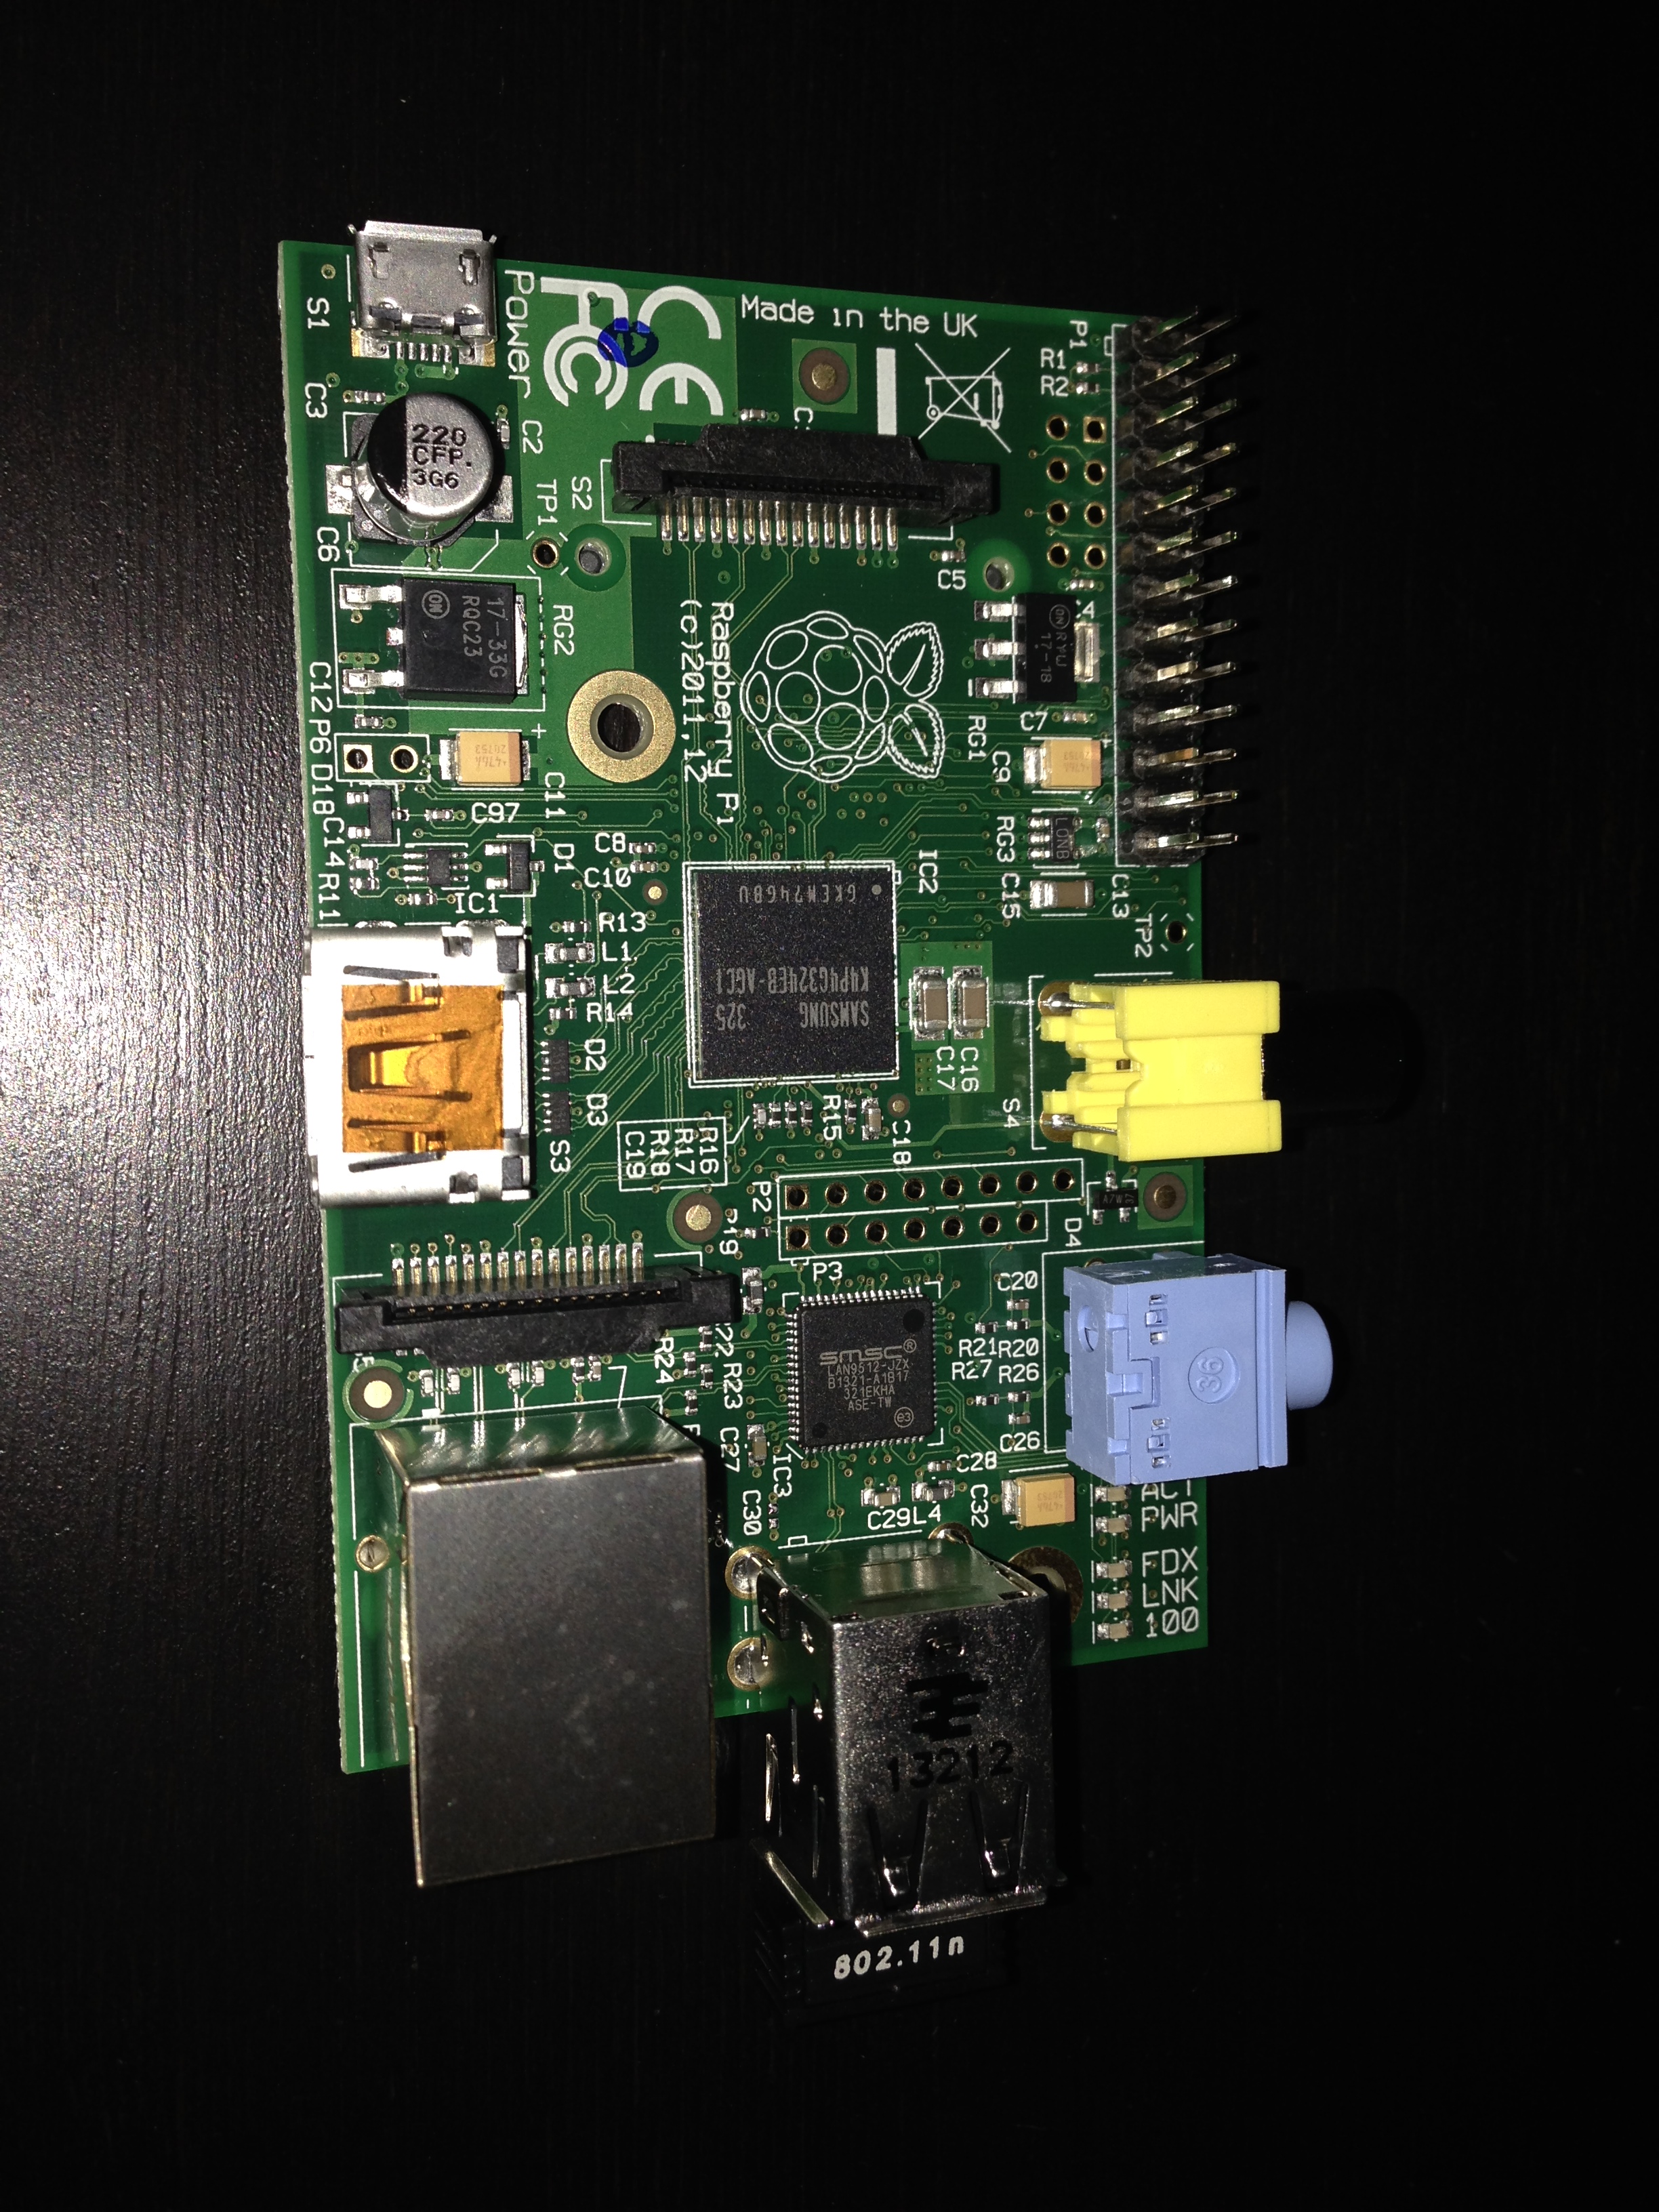
“The Raspberry Pi is a credit-card sized computer that plugs into your TV and a keyboard. It is a capable little computer which can be used in electronics projects, and for many of the things that your desktop PC does, like spreadsheets, word-processing and games. It also plays high-definition video” (raspberrypi.org).
My environment:
- Raspberry Pi (Model B) $39.95
- 32GB MicroSD with adapter $21.00 (Model B needs the adapter)
- Miniature WiFi adapter $11.95
- 5V USB Port Power Supply $5.95
- USB Cable A/MicroB $3.95
- HDMI cable, mouse, keyboard, display (If you can’t SSH)
So now that I have one, I’m going to put Kali back on it along with OpenVAS, see previous post.
Imaging the SD
This time to image my SD card I used dd on my Mac. When I imaged the SD on my PC, I used Win32 Disk Imager. For dd:
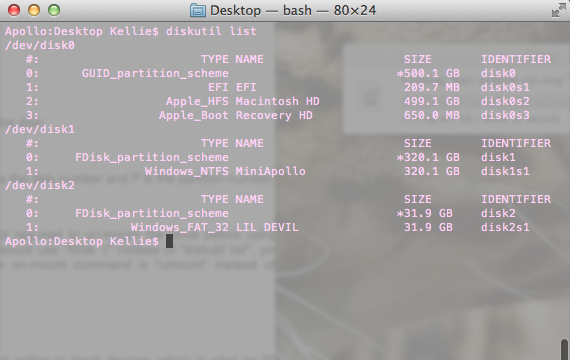
With the SD card inserted into your computer, check where it is mounted with either fdisk (Linux) or diskutil (Mac).
fdisk - l
or
diskutil list
Locate your SD. Mine was located at /dev/disk2 (seen in screenshot below).
Unmount the SD.
unmount <SD LOCATION eg /dev/...>
or
diskutil unmountdisk <SD LOCATION /dev/...>
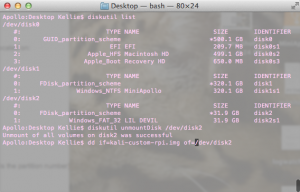

Lastly, use dd to image the SD card, the command is the same on both platforms. You can either use a custom Kali Pi image or a normal Kali image.
sudo dd if=<IMG LOCATION> of=<SD LOCATION /dev/...>
WARNING: Make sure to select the write SD location, you do not want to wipe your computers HD!
This may take some time depending on the size of your SD.
Starting it Up
Plug all the pieces together (HDMI cable, mouse, keyboard, WiFi adapter, USB to power supply, and SD).
The default credentials for Kali is root:toor.
This was super annoying but dd did not image my entire SD card, it made a small 4GB image (The size of the image I had, most pi images are 2GB from what I hear.) I ended up installing raspy-config in order to expand my image partition on the card. I followed these instructions.
Once I had my PI going, I checked that the WiFi was working correctly. I followed this tutorial to get it working. Following, I was able to SSH immediately (I found the IP address on my router’s web interface), some of you might have to configure OpenSSL. This way you can SSH into the device without the need of a dedicated monitor, HDMI cable, keyboard or mouse.
rm /etc/ssh/ssh_host_*
dpkg-reconfigure openssh-server
service ssh restart
Always good to update your libraries and upgrade your system.
sudo apt-get update
sudo apt-get upgrade
Cool, the environment is now ready for whatever you want to do. If you are worried about security, bastion.sh is a really cool tool designed to tighten security on any Linux device. Worth trying.
More Pi fun to come!